
Introduction
In today's digital landscape, having a strong online presence is essential, whether you're a business owner, freelancer, or aspiring web designer. And with Webflow, you have a powerful tool at your fingertips to create stunning, responsive websites without writing a single line of code.
Why Mastering Webflow Matters?
Webflow is more than just another website builder — it's a comprehensive platform that empowers designers to bring their creative visions to life. By mastering Webflow, you'll gain the skills and knowledge needed to design and launch professional-quality websites that not only look great but also perform optimally across all devices.
What You'll Learn in This Guide?
In this beginner's guide, we'll walk you through everything you need to know to get started with Webflow. From understanding the basics of the platform to building your first website, exploring advanced features like interactions and animations, and optimizing your site for search engines and performance, we've got you covered. Whether you're a complete beginner or have some experience with web design, this guide is designed to help you unlock the full potential of Webflow and take your skills to the next level.
So, if you're ready to dive into the exciting world of Webflow and elevate your web design game, let's get started!

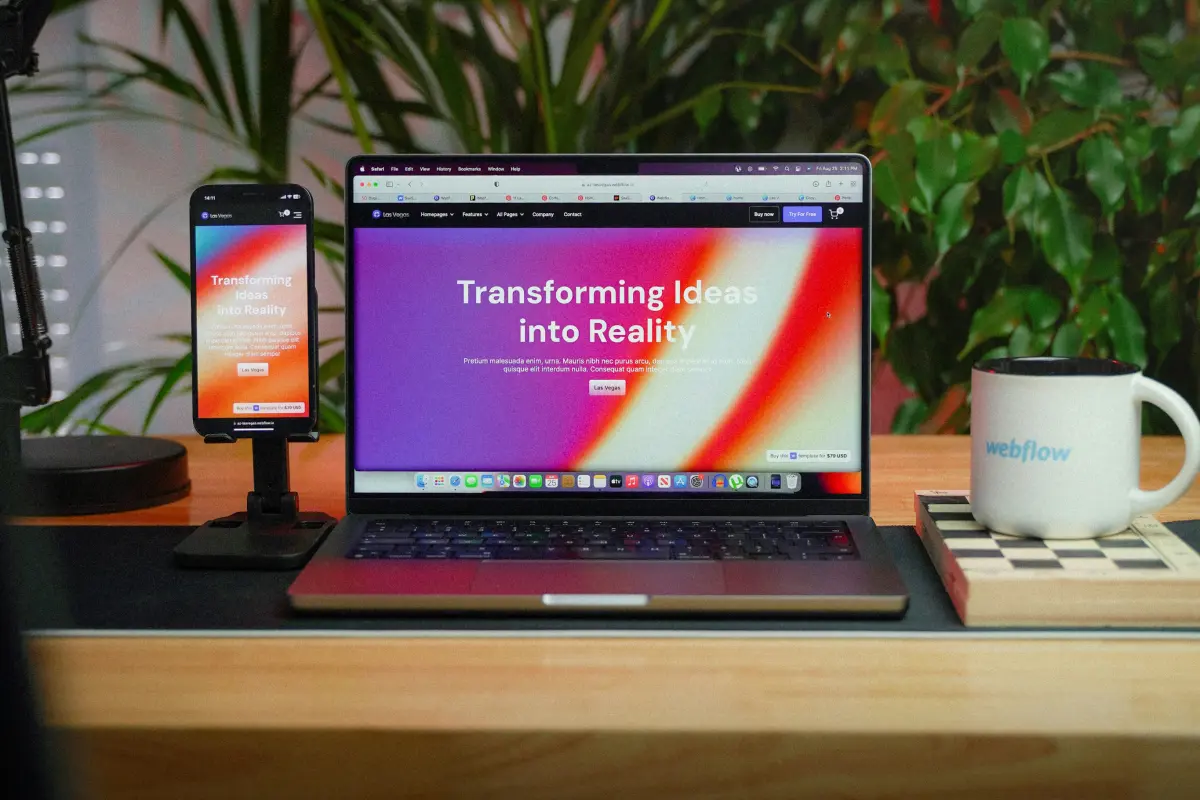
What is Webflow?
Webflow is a powerful visual development platform that allows you to design, build, and launch custom websites without needing to write code manually. It combines the flexibility of traditional web development with the ease of use of a drag-and-drop interface, making it accessible to beginners while offering advanced features for experienced designers.
Setting up a Webflow Account
To get started with Webflow, the first step is to sign up for an account. You can do this by visiting the Webflow website and clicking on the "Sign Up" button. You'll be prompted to enter your email address, choose a password, and create a username for your account. Once you've completed the registration process, you'll have access to the Webflow dashboard where you can start creating projects.
Navigating the Webflow Dashboard
Upon logging in to your Webflow account, you'll be greeted with the Webflow dashboard. Here, you'll find all the tools and resources you need to manage your projects, collaborate with team members, and access support documentation. Take some time to familiarize yourself with the dashboard layout and navigation menu, as you'll be using these frequently throughout your Webflow journey.
- Projects: View and manage all your Webflow projects from one central location.
- Templates: Explore a variety of pre-designed app to jumpstart your website creation process.
- University: Access Webflow University for tutorials, courses, and resources to help you learn and master the platform.
- Community: Join the Webflow community forums to connect with other users, ask questions, and share your experiences.
- Account Settings: Update your account information, billing details, and subscription plan as needed.
Understanding the Basics of Webflow Design
When you begin designing in Webflow, you'll interact with the Webflow Designer interface. This is where you'll visually create and edit every aspect of your website. The Designer interface consists of several key components:
- Canvas: The main workspace where you design your website. You'll drag and drop elements onto the canvas and arrange them to create your layout.
- Navigator: A hierarchical list of all the elements on your page. You can use the Navigator to easily navigate through your design and select specific elements.
- Properties Panel: This panel displays the settings and properties of the currently selected element. Here, you can customize things like size, spacing, typography, and more.
- Toolbar: Contains various tools and options for editing your design, including the ability to add new elements, navigate between pages, and preview your site.
Introduction to Elements, Classes, and Styles
In Webflow, elements are the building blocks of your website. They can be anything from text and images to buttons and forms. Each element can be styled individually using classes and styles.
- Elements: These are the individual components that make up your website, such as headings, paragraphs, div blocks, and more.
- Classes: Classes are reusable styles that you can apply to multiple elements. They allow you to maintain consistency across your design and make global changes easily.
- Styles: Styles are the specific visual properties applied to an element or class, such as color, size, font, spacing, and more. You can create and customize styles using the Properties Panel.
Explaining the Box Model and Layout Tools
Understanding the box model is crucial for creating well-structured layouts in Webflow. The box model consists of four components: content, padding, border, and margin. These components determine the size and spacing of an element on the page.
- Content: The actual content of the element, such as text or images.
- Padding: The space between the content and the element's border.
- Border: The border surrounding the element's content and padding.
- Margin: The space between the element and its neighboring elements.
Webflow provides powerful layout tools that allow you to easily control the positioning and arrangement of elements on the page. These include flexbox, grid, and positioning options, which give you precise control over the layout of your design.
Building Your First Website in Webflow
Now that you've familiarized yourself with the basics of Webflow's interface and design principles, it's time to roll up your sleeves and start building your first website. Follow these steps to get started:
1. Creating a New Project
- Log in to your Webflow account and navigate to the dashboard.
- Click on the "Create New Project" button.
- Choose a blank project or select a template to start from.
- Give your project a name and click "Create Project."
2. Adding and Customizing Elements
- Once your project is created, you'll be taken to the Webflow Designer.
- Begin by dragging elements from the Add panel onto the canvas to start building your layout.
- Customize each element's appearance and behavior using the Properties Panel on the right.
- Use classes and styles to maintain consistency across your design and make global changes easily.
3. Understanding Responsive Design
- Webflow's responsive design tools allow you to create websites that look great on any device.
- Use breakpoints to define how your design responds to different screen sizes.
- Adjust element properties for each breakpoint to ensure your design adapts seamlessly across devices.
4. Previewing and Testing Your Site
- Use the Preview mode to see how your site looks and functions in a web browser.
- Test your site on different devices and screen sizes to ensure a consistent user experience.
- Use the Webflow Designer's built-in responsive design tools to make adjustments as needed.
5. Publishing Your Site
- Once you're satisfied with your design, it's time to publish your site.
- Click on the "Publish" button in the top-right corner of the Webflow Designer.
- Choose a custom domain or use Webflow's default subdomain.
- Your site is now live and accessible to the world!
Exploring Webflow's Interactions and Animations
The Interactions panel in Webflow serves as the hub for creating animations and interactions without the need for coding. It provides a visual interface where users can define various animations and interactions and adjust their timing and triggers.
Adding Animations to Elements
To add animations to elements, users select the desired element on the canvas and access the Interactions panel. From there, they can create new interactions and choose from a range of animation types, including fades, movements, rotations, scales, and custom animations. Users can fine-tune the animation's timing and easing curve to achieve the desired effect.
Creating Scroll-Based Animations
Webflow allows users to create scroll-based animations, where animations are triggered as the user scrolls down the page. By selecting an element and choosing the "While scrolling in view" trigger in the Interactions panel, users can set animations to occur when the element comes into view or at specific scroll positions. This feature adds depth and interactivity to websites, enhancing the overall user experience.
Advanced Interaction Techniques
For more intricate effects, users can experiment with combining multiple animations and interactions. By utilizing triggers like mouse hover, click events, or page loads, users can create dynamic and interactive elements that respond to user actions. Additionally, advanced options such as interaction states and conditions provide further customization capabilities, allowing users to create sophisticated interactions tailored to their needs.
Best Practices for Interactions and Animations
To ensure optimal user experience, it's important to follow best practices when implementing interactions and animations. Keeping animations subtle and purposeful helps enhance the user experience without overwhelming or distracting users. Furthermore, optimizing animations for performance by minimizing the use of complex effects and excessive motion ensures smooth performance across devices and screen sizes.
Utilizing Webflow CMS for Dynamic Content
Webflow's Content Management System (CMS) is a powerful tool that allows users to manage and publish dynamic content on their websites. Unlike traditional static websites, which require manual updating of content on each page, Webflow CMS enables users to create structured content collections and dynamically populate their website pages with this content.
Setting up Collections and Fields
The first step in utilizing Webflow CMS is to define content collections and their associated fields. Content collections represent different types of content on your website, such as blog posts, products, team members, or events. Within each collection, users can define custom fields to capture specific pieces of information, such as title, description, date, image, or category.
Building Dynamic Pages
Once content collections and fields are set up, users can start creating dynamic pages that automatically pull content from their CMS collections. Using Webflow's Designer interface, users can design custom page layouts and dynamically bind elements to CMS fields. This allows for the creation of dynamic page templates that automatically populate with content from the CMS.
Leveraging Collection Lists and Dynamic Embeds
Collection lists are powerful tools in Webflow that allow users to display multiple items from a CMS collection on a single page. By adding a collection list to a page template and specifying the desired collection, users can dynamically display content such as blog posts, products, or team members in a structured and consistent manner.
Dynamic embeds provide another way to incorporate dynamic content into Webflow sites. By embedding dynamic content from third-party sources or external databases, users can further enhance the functionality and interactivity of their websites.
Content Management and Publishing Workflow
Webflow CMS also includes features for content management and publishing workflow. Users can create, edit, and manage content directly within the Webflow Editor, a user-friendly interface that allows for real-time editing of website content. Additionally, Webflow CMS offers versioning and scheduling capabilities, enabling users to schedule content updates and publish changes at specific times.
Optimizing Your Webflow Website
Understanding SEO Settings in Webflow
Search Engine Optimization (SEO) is crucial for ensuring your website ranks well in search engine results and drives organic traffic. Webflow offers built-in SEO settings that allow users to optimize their website for search engines:
- Page Titles and Meta Descriptions: Customize page titles and meta descriptions for each page to improve visibility in search engine results.
- URL Structure: Use clean and descriptive URLs that include relevant keywords to improve search engine rankings.
- Image Alt Text: Add descriptive alt text to images to improve accessibility and enhance search engine optimization.
Integrating Analytics and Tracking Tools
Tracking website performance and visitor behavior is essential for understanding how users interact with your site and identifying areas for improvement. Webflow allows users to easily integrate third-party analytics and tracking tools, such as Google Analytics or Facebook Pixel, to gather valuable insights:
- Google Analytics: Track website traffic, user demographics, and behavior to gain insights into visitor engagement and optimize your marketing efforts.
- Facebook Pixel: Track conversions, measure ad performance, and retarget website visitors to maximize advertising ROI.
Performance Optimization Techniques
Optimizing website performance is critical for providing a fast and seamless user experience. Webflow provides several tools and techniques for optimizing website performance:
- Asset Optimization: Compress images, minify CSS and JavaScript files, and leverage browser caching to reduce page load times.
- Lazy Loading: Use lazy loading to defer the loading of images and other media until they are needed, reducing initial page load times.
- Content Delivery Network (CDN): Utilize Webflow's built-in CDN to deliver website content quickly and efficiently to users around the world.
Mobile Optimization
With an increasing number of users accessing websites on mobile devices, optimizing your website for mobile responsiveness is essential. Webflow's responsive design tools make it easy to create websites that look great and perform well on any device:
- Viewport Settings: Configure viewport settings to ensure your website displays correctly on mobile devices and adapts to different screen sizes.
- Mobile Navigation: Design intuitive and user-friendly navigation menus that are easy to navigate on mobile devices.
- Performance Testing: Use Webflow's built-in preview and testing tools to ensure your website performs optimally on mobile devices.
Accessibility Considerations
Web accessibility is an important aspect of website design, ensuring that your website is usable and accessible to all users, including those with disabilities. Webflow provides tools and features to help make your website more accessible:
- Semantic HTML: Use semantic HTML elements and proper markup to improve accessibility and ensure compatibility with assistive technologies.
- Keyboard Navigation: Ensure that all interactive elements on your website are accessible via keyboard navigation for users who rely on keyboard input.
- Alt Text for Images: Provide descriptive alt text for images to improve accessibility for visually impaired users and assistive technologies.
By implementing these optimization techniques, you can ensure that your Webflow website is optimized for search engines, delivers a fast and seamless user experience, and is accessible to all users.

Launching Your Website
Before launching your website, it's important to thoroughly review and test its functionality and design. Webflow's built-in preview mode allows you to preview your website in a web browser and ensure everything looks and functions as intended. Take the time to navigate through your website and test all interactive elements to identify any issues that need to be addressed before launch.
Custom Domain Setup
Once you're satisfied with your website, it's time to publish it for the world to see. If you haven't already, consider setting up a custom domain for your website to establish a professional online presence. Webflow makes it easy to connect your custom domain to your website:
- Domain Registration: Register a domain through a domain registrar or use an existing domain you own.
- DNS Configuration: Update your domain's DNS settings to point to Webflow's servers. Webflow provides detailed instructions for configuring DNS settings based on your domain registrar.
Publishing Your Website
With your domain set up and connected to Webflow, it's time to publish your website. Webflow offers seamless publishing capabilities that make it easy to deploy your website to the web:
- Publish Button: Simply click the "Publish" button in the top-right corner of the Webflow Designer to publish your website.
- Real-Time Updates: Webflow publishes changes in real-time, allowing you to instantly update your website's content and design without any downtime.
Launch Checklist
Before hitting the publish button, it's a good idea to run through a launch checklist to ensure everything is in order:
- Proofread Content: Double-check all written content for spelling and grammatical errors.
- Test Links and Forms: Verify that all links and forms on your website are functioning correctly.
- Optimize SEO: Review your website's SEO settings and metadata to ensure optimal search engine visibility.
- Mobile Compatibility: Test your website on various devices to ensure it displays correctly and functions well on mobile devices.
Conclusion
With Webflow's intuitive platform, you've acquired the skills to transform your creative ideas into visually stunning websites without the constraints of coding. Remember, learning is an ongoing process, and there's boundless opportunity to explore new techniques and trends. Embrace your creativity, continue to experiment fearlessly, and don't shy away from pushing the boundaries of design. Thank you for embarking on this journey with us, and we eagerly anticipate witnessing the remarkable websites you'll craft with Webflow.


